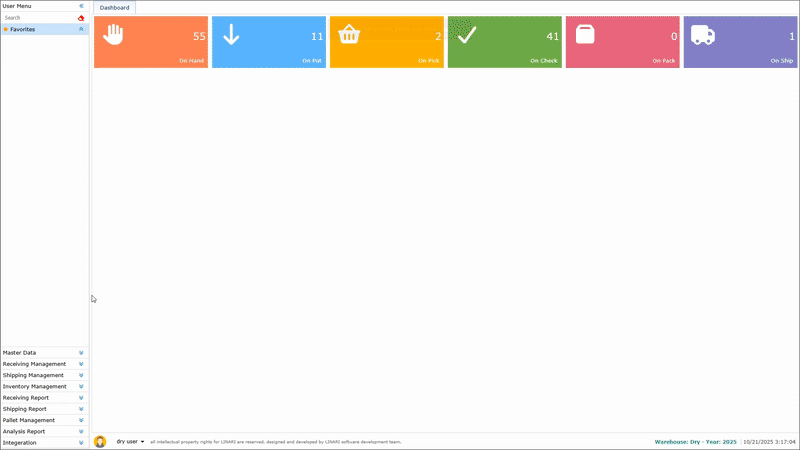
To send goods to an Orderer, you must first create a Shipping Order. A shipping order contains complete information about the items to be shipped.

Creating a shipping order #
To create a request:
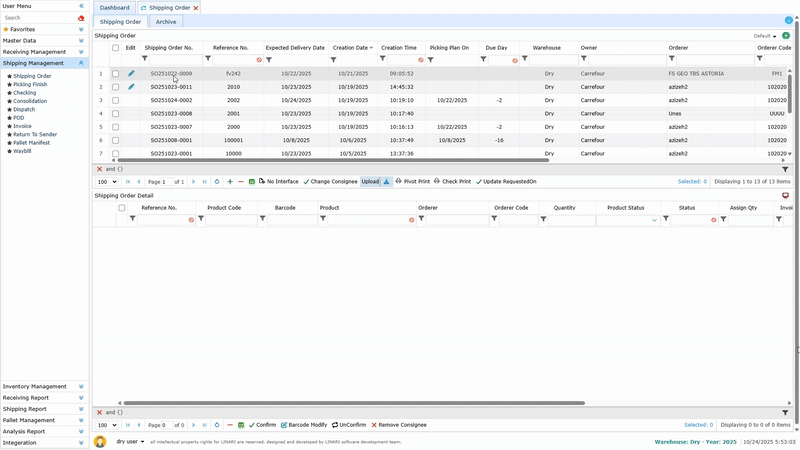
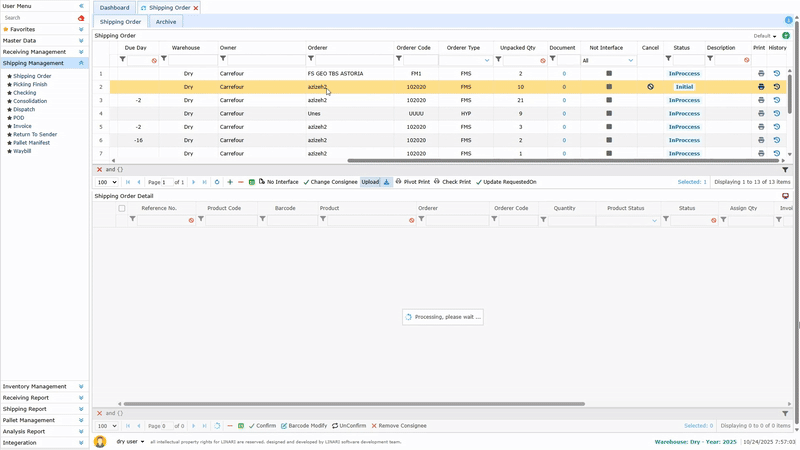
1. Click on the Shipping Management menu and select the Shipping Order submenu.
2. At the top of the page, you will see a list of previously created shipping orders.
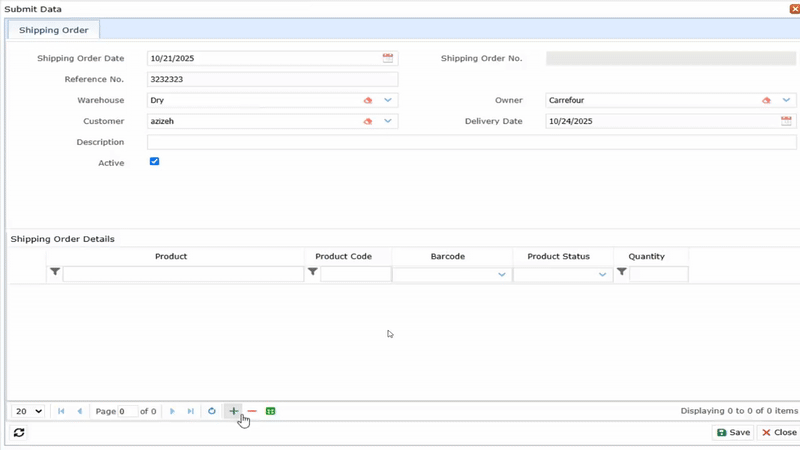
3. To create a new request, click the + button at the top of the page.

4. Fill in the displayed information fields:

* Shipping Order Date: Select the order date.
* Reference No: Enter a reference number .
* Warehouse: Select the warehouse where the goods are stored.
* Customer: Select the customer.
* Owner: Select the owner of the goods. A warehouse may store goods belonging to multiple owners.
* Delivery Date: Choose the product delivery date.
5. Click the + button at the bottom of the form to add product details. A new row will be added to the list.

6. Type part of the product name or barcode in the Product field to display a list of matching products. Click on the desired product — its barcodes will appear in the Barcode column.
7. Click the desired barcode and enter the quantity in the Quantity field. Repeat this process for all desired products. To remove an item, click the – button.
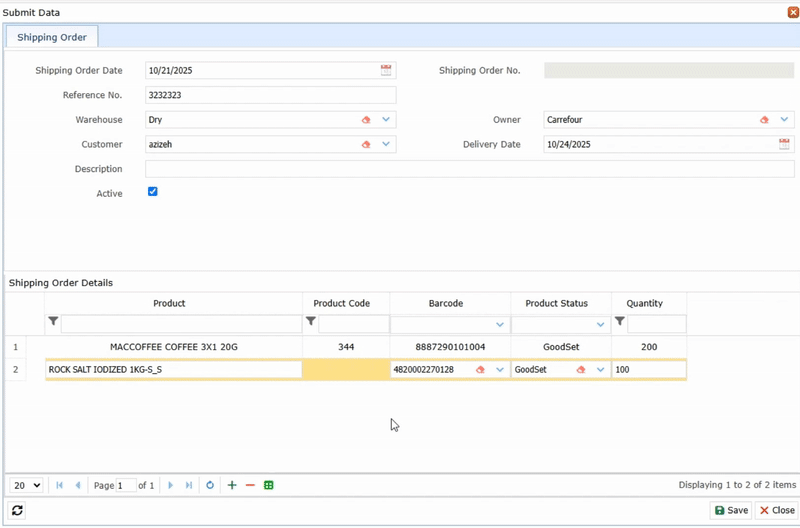
8. After completing all steps, click Save. The request will be saved and displayed in the list above.

Editing a Shipping Order #
1. Click on the created request to view its details in the list below. The request status must be Initial; otherwise, an error message will appear.

2. When the status is Initial, the Edit button will appear next to the request. Click it to open the edit form.
3. Enter the necessary information, apply changes, and click Save. The request will be updated accordingly.

Confirming a shipping order #
1. To confirm an order, select the desired request and click Confirm. Once confirmed, the order status changes, and certain information can no longer be edited.
2. To revert the order to its initial state, select it and click Unconfirm.
3. After this, the order becomes editable again, and changes can be made as needed.
Consignee of the shipping order #
Sometimes, the consignee or receiver is different from the orderer. The consignee is the person who receives the shipment after it has been collected and loaded. You can modify the consignee’s information.
Changing the Consignee:
1. Select the desired order and click Change Consignee.
2. In the opened form, enter the new consignee details and click Save.
Removing the Consignee:
1. Select the desired order.
2. Click Remove Consignee.
3. Confirm the deletion — the consignee will be removed from the order.
Editing the Barcode #
Sometimes a product has several barcodes, and one of them may be out of stock. In this case, use another available barcode.
1. Select the desired order.
2. Click the Edit Barcode button.
3. In the opened form, enter the new barcode.
4. Click Save.
Creating a shipping order by Uploading Excel file
1. Click the arrow icon next to the Upload button and download the sample Excel file. The file will be saved to a specified location.
2. Open the downloaded Excel file by double-clicking its name.
3. Fill in the required columns in the Excel file:
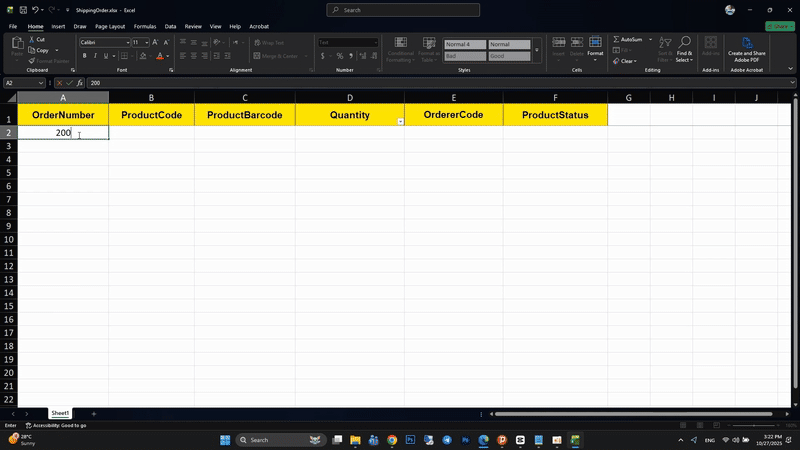
* Order Number: Enter the order number.
* Product Code: Enter the unique product identifier it is available in the product information form.
* Product Barcode: Enter one of the barcodes associated with the product.
* Quantity: Enter the quantity of the desired product.
* Supplier Code: Enter the supplier code that is available in the Sender menu.
* Product Status: Fill this with the value GoodSet.
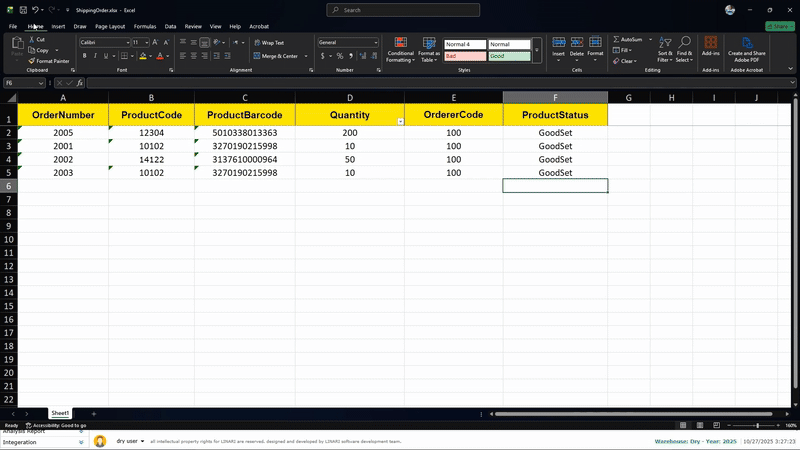
4. Save the completed Excel file.
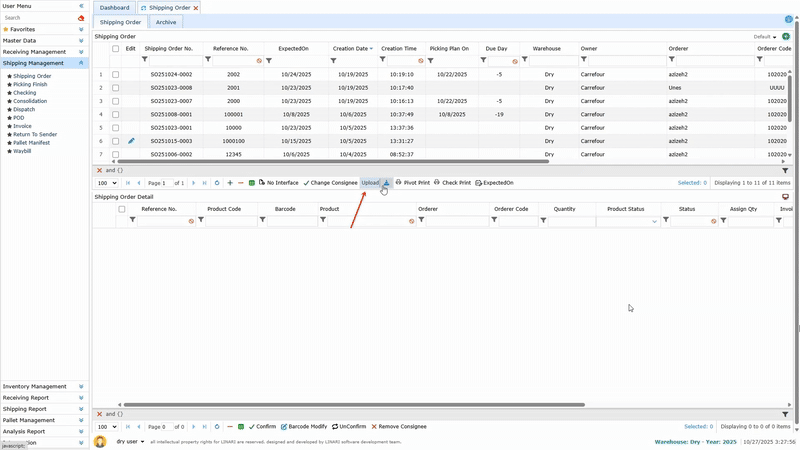
5. On the Shipping Order page, click Upload. In the form that appears, select the Owner and the Warehouse.
6. Click Choose File, select the Excel file, and upload it.
7. Finally, click Save. The shipping order will be created and displayed in the main request list.