In warehouses where goods are organized on shelves, one important part of the shipping process is deciding from which locations the items should be picked so that the workers can collect them.

There are two ways to assign picking locations: manually by the user or automatically by the system.
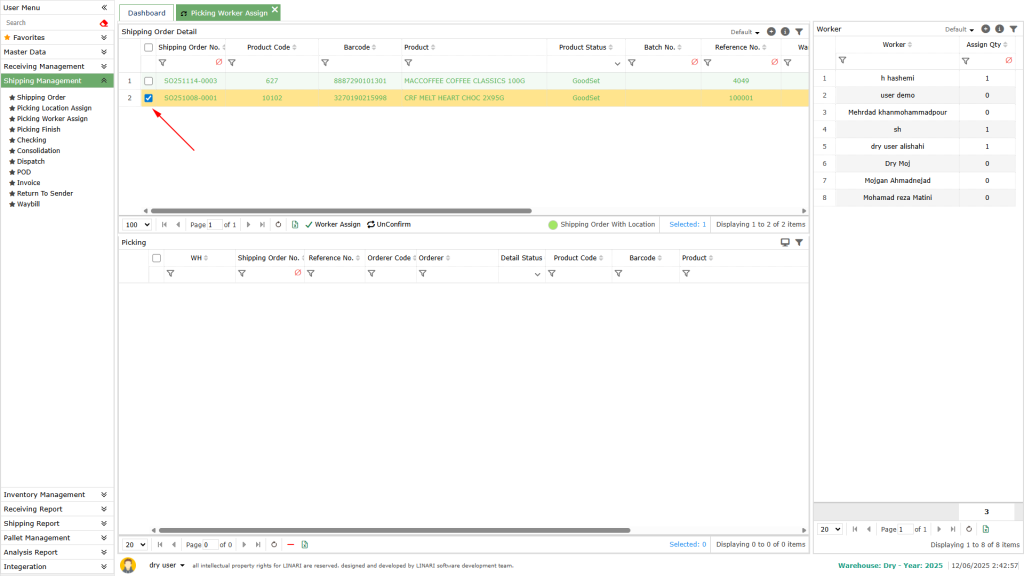
1. After creating a shipping request, it is necessary to confirm the item that we want to ship.
2. The confirmed items are displayed on the Picking Location Assign page, and it is possible to assign locations for them.
To open this page, click on the Shipping Management menu and then select Picking Location Assign from the submenu.
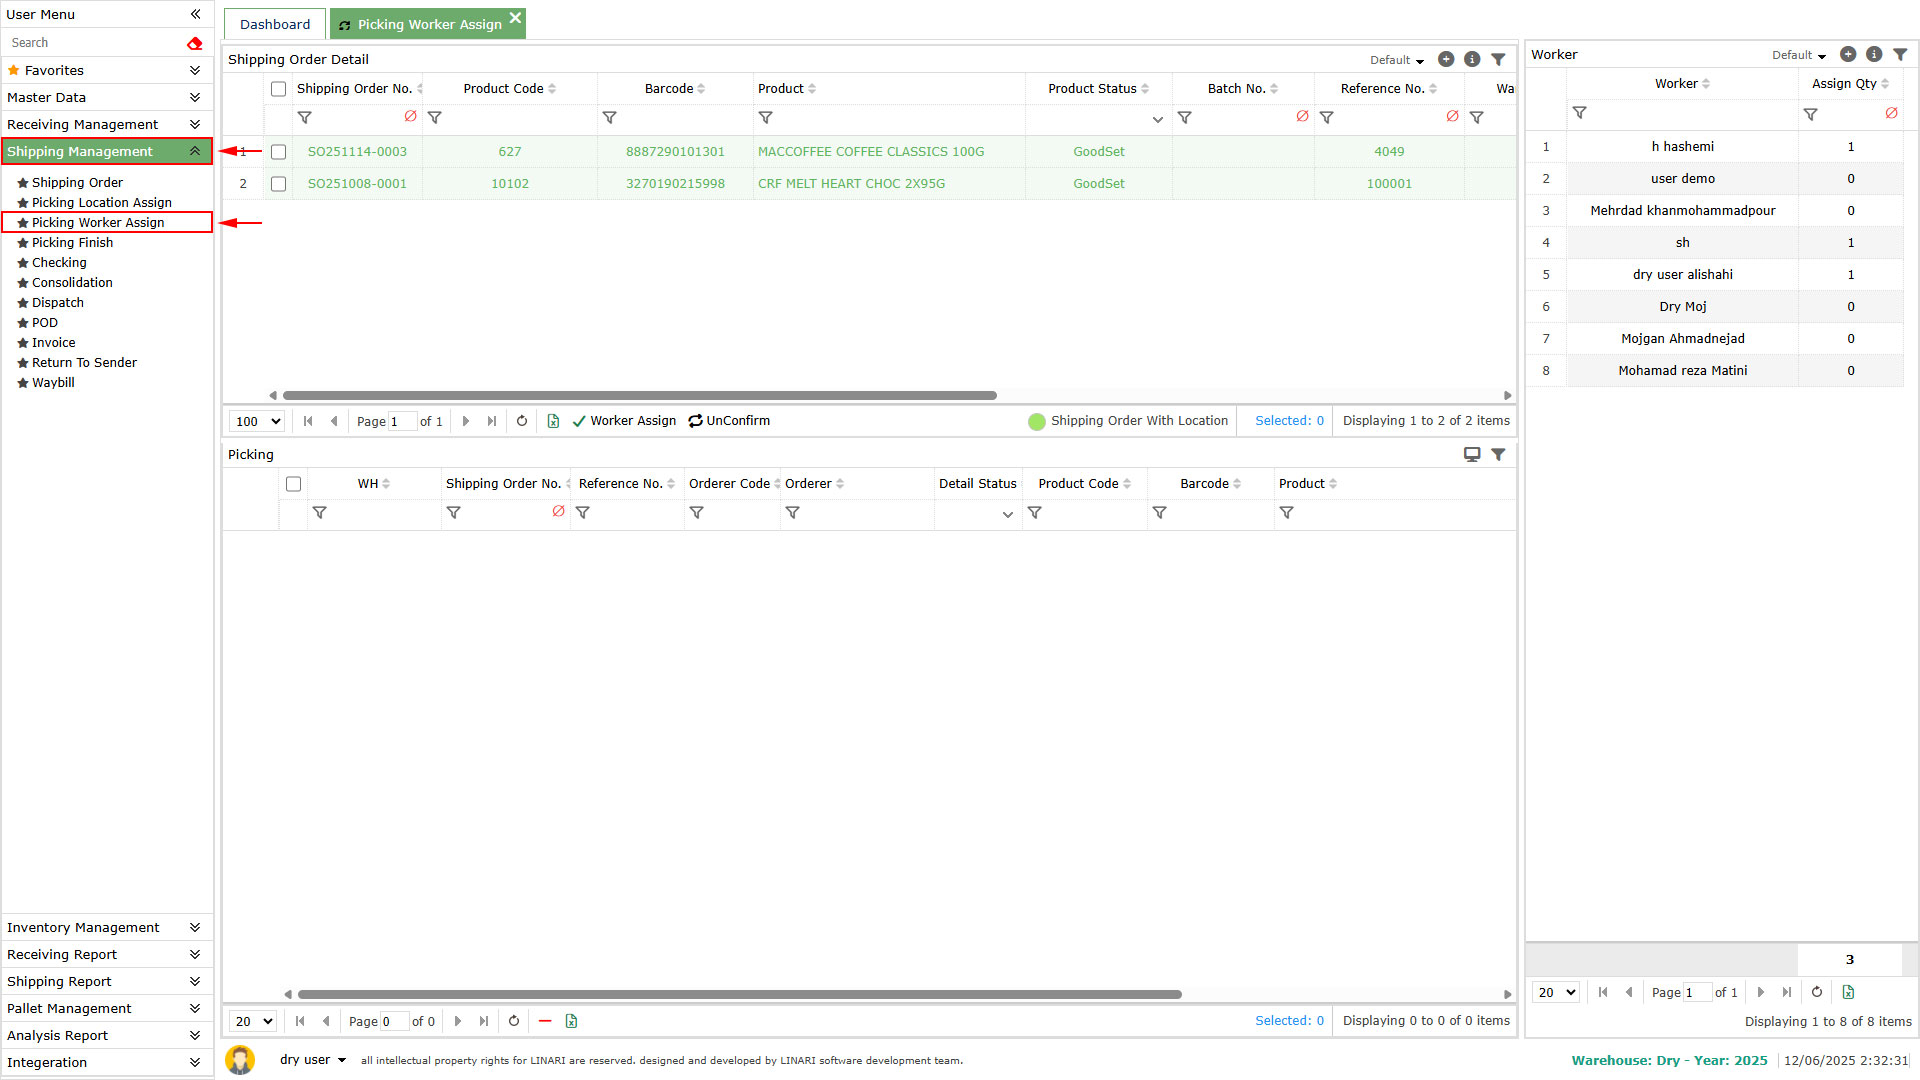
3. The confirmed items will appear in the list at the top of the page. Select one of them to continue.
Automatic Pick
To assign locations automatically, click the Location Assign button.
If there are enough items available in the warehouse, a confirmation message will appear, and the system will assign the locations automatically.
The list of assigned locations along with the product quantity will be shown in the lower list.
Remove Assigned Locations
To remove assigned locations, first select the desired request from the list above.
Then click the Location Unassign button.
All assigned locations for the selected item will be deleted.
Direct Pick
1. To assign a location manually, click the hand icon on the left side of the row.
The Location Assign window will open.
2. At the top of the form, information about the selected item will be displayed:
Product: the name of the product
Product Code: the product code
Quantity: the quantity to be assigned
Status: the product status
The list of selected locations will appear below (it is empty at first).
3. To choose a location, click the + button. A new form will open showing a list of locations where this product is stored.
4. Select one or more locations and click the Allocation button.
The form will close, and the selected locations will be shown in the list.
5. To remove a location, select the row and click the – button.